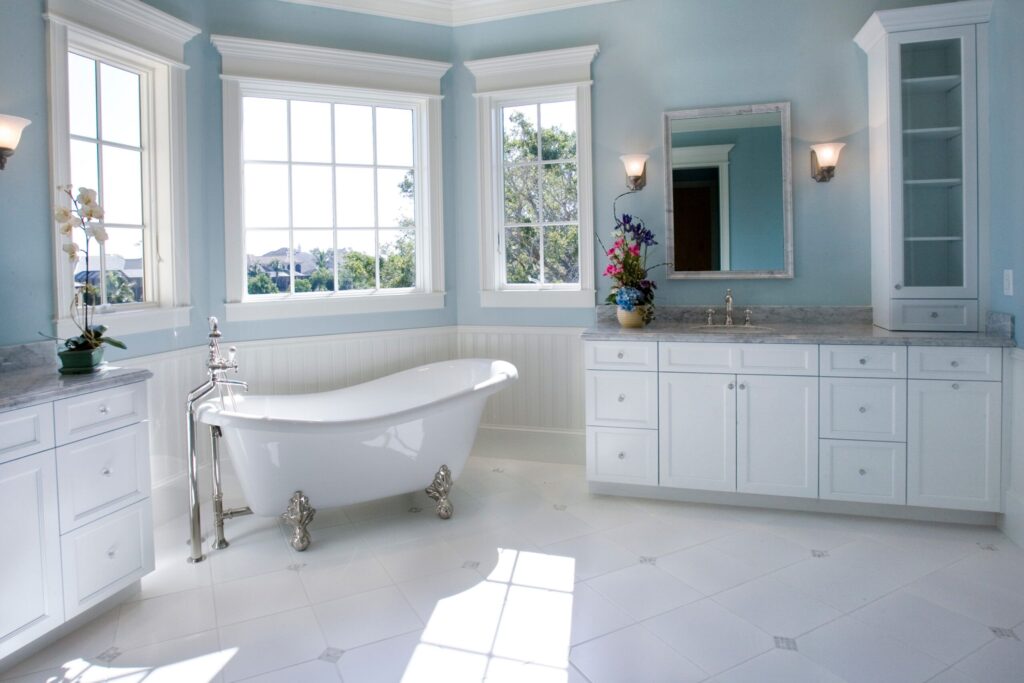
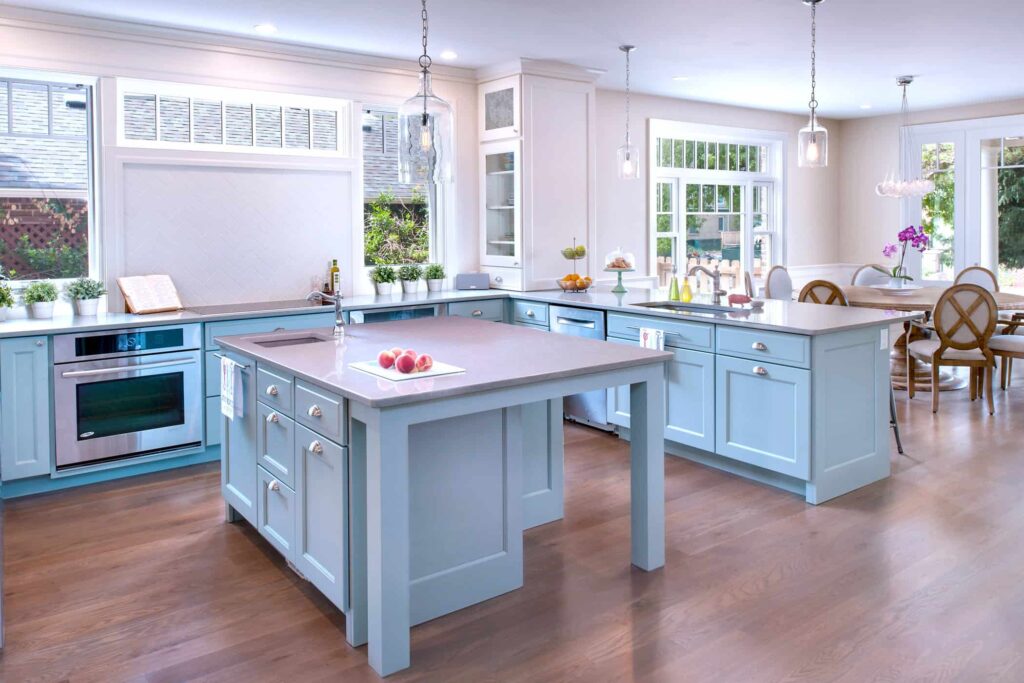
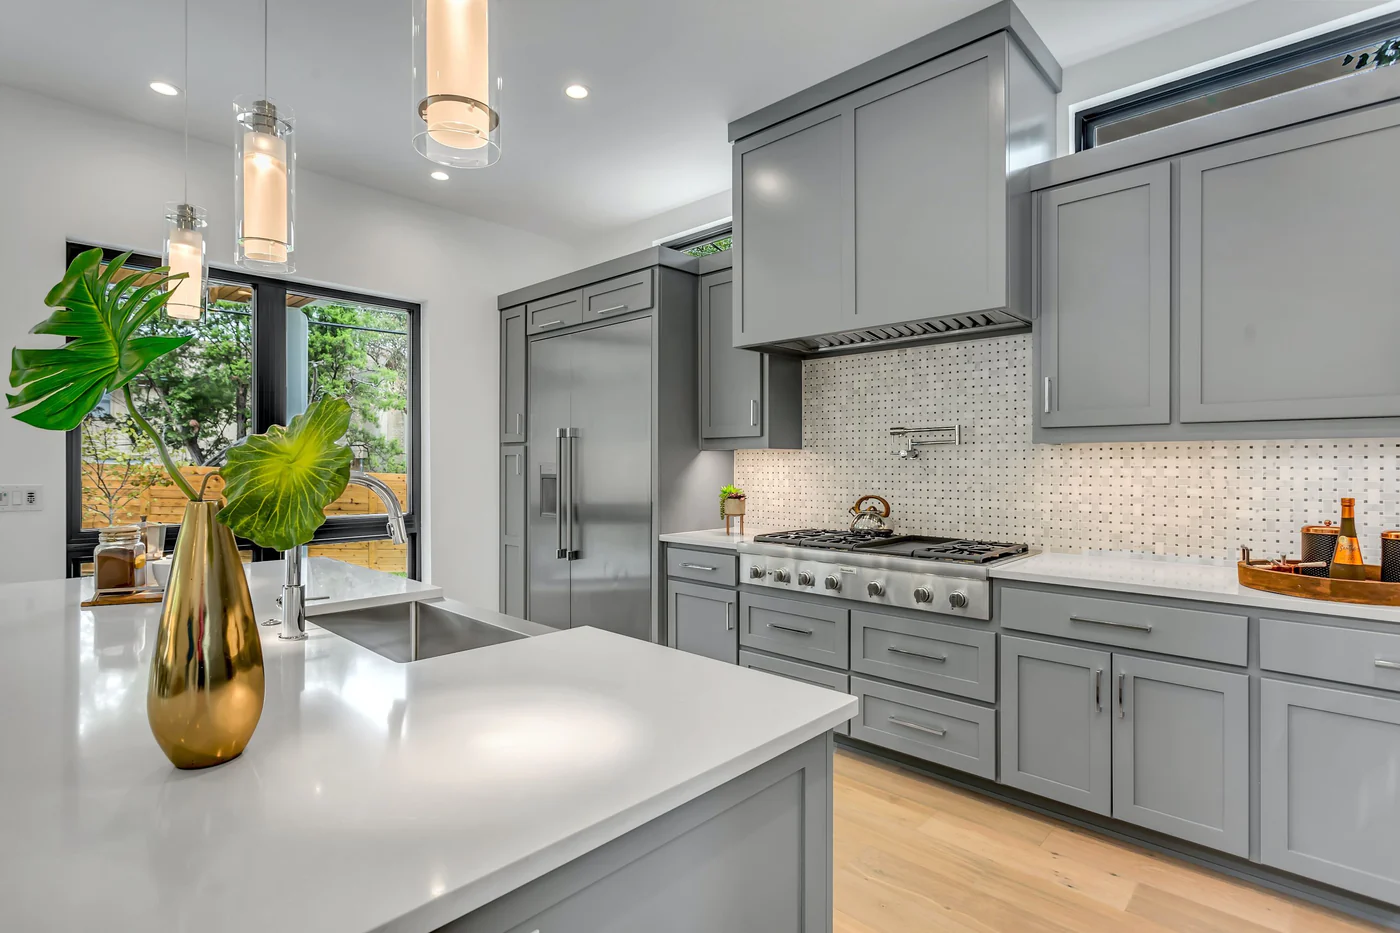
Are you looking to give your home a fresh and cost-effective makeover? One of the most transformative and budget-friendly ways to revitalize your living space is by painting your cabinets. Whether you’re updating your kitchen, bathroom, or any room with cabinetry, a fresh coat of paint can breathe new life into your home. In this guide, we’ll walk you through the steps to successfully revamp your home with cabinet painting.

Why Choose Cabinet Painting?
Cabinet painting is an excellent choice for several reasons:
- Affordability: It’s a budget-friendly alternative to replacing cabinets entirely, saving you a significant amount of money.
- Customization: You have the freedom to choose the color that best matches your home’s aesthetic and your personal style.
- Quick Transformation: Cabinet painting can completely change the look and feel of a room in a relatively short amount of time.
- Sustainability: Choosing to paint your cabinets is an eco-friendly option, reducing waste and the environmental impact of replacing cabinetry.
- Increased Home Value: A well-executed cabinet paint job can add value to your home, making it more appealing to potential buyers.

The Step-by-Step Guide to Cabinet Painting
- Gather Your Supplies
Before you start, gather the necessary supplies:
- High-quality paint (water-based or oil-based, depending on your preference)
- Primer
- Sandpaper
- Screwdriver
- Drop cloths or plastic sheeting
- Painter’s tape
- Paintbrushes and rollers
- Paint trays
- Prepare Your Cabinets
Proper preparation is crucial to achieving a smooth finish. Start by removing cabinet doors and hardware. Label each door and its corresponding location for reassembly. Clean the cabinet surfaces thoroughly to remove grease and grime. Lightly sand the cabinets to create a surface that the paint can adhere to.
- Apply Primer
Apply a high-quality primer to the cabinet surfaces. Primer ensures that the paint adheres well and provides an even base for the final coat. Allow the primer to dry completely before moving on to painting.
- Paint Your Cabinets
Select your desired paint color and begin painting the cabinet surfaces. It’s typically recommended to apply at least two coats for a professional finish. Use smooth, even strokes and allow each coat to dry fully before applying the next one.
- Reassemble and Enjoy
Once the paint has dried, reattach the cabinet doors and hardware. Stand back and admire your freshly painted cabinets. Your room will have a completely new look, and you’ll be amazed at the transformation
Tips for Success
- Choose the right paint: Select a paint type that suits your needs, whether it’s water-based for easy cleanup or oil-based for added durability.
- Proper ventilation: Ensure good ventilation while painting to disperse fumes and speed up drying time.
- Take your time: Rushing the process can lead to mistakes. Patience and attention to detail are key to a successful cabinet paint job.
- Quality over quantity: Invest in high-quality paint and materials to achieve a professional result.
Revamping your home with cabinet painting is a rewarding and cost-effective project. It allows you to breathe new life into your living space while staying within your budget. So, pick up your paintbrush and start transforming your home, one cabinet at a time. Your revitalized space will be a source of pride and satisfaction for years.


Comments are closed